Choosing the Right Drill Chuck: A Comprehensive Guide to Types and Features
Understanding Drill Chucks
What is a Drill Chuck?
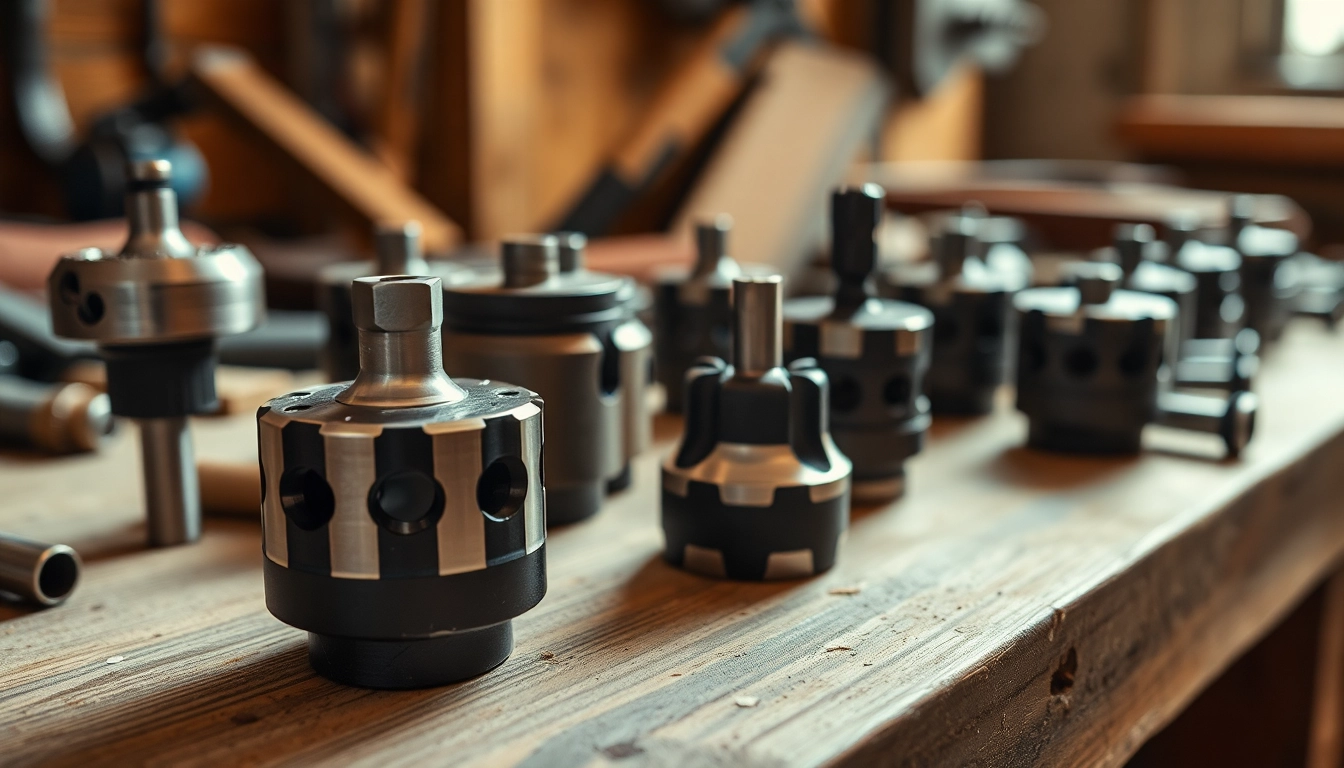
A drill chuck is a specialized tool designed to hold and secure drill bits in power drills and other rotary tools. It serves as the interface between the drill and the bit, ensuring that the bit is fixed in place while enabling the rotary motion required for drilling. An essential component of power tools, drill chucks come in various designs and sizes, each tailored for specific applications and types of drilling tasks.
Drill chucks can be utilized in a wide range of jobs, from simple home repairs to professional construction projects. As such, understanding the characteristics and functions of a drill chuck is vital for anyone looking to maximize their tool’s efficacy and ensure safety in their operations.
Types of Drill Chucks Explained
Drill chucks can be categorized primarily into three types: keyed, keyless, and hybrid. Each type is designed for different needs and user preferences:
- Keyed Drill Chucks: This traditional type uses a key to tighten and loosen the jaws that grip the drill bit. They offer a stronger grip and are often preferred in industrial settings where precision is critical.
- Keyless Drill Chucks: As the name suggests, these chucks do not require a key and can be tightened and loosened by hand. They are more convenient for general use and quick bit changes, making them ideal for DIY projects.
- Hybrid Drill Chucks: Combining features from both types, hybrid chucks allow for both manual tightening and the use of a key if desired. This versatility can be beneficial in various applications.
How to Choose a Drill Chuck for Your Needs
Choosing the right drill chuck involves considering several factors such as the type of drill you are using, the size of the bits you need to work with, and the nature of your projects. Here are some key considerations:
- Compatibility: Ensure that the chuck’s mount matches your drill’s specifications, which can generally range from 3/8” to 1/2”.
- Bit Size Capacity: Select a chuck that has the proper size capacity to accommodate the drill bits used for your tasks.
- Material: Consider the material of the chuck, as metal chucks tend to provide better durability and performance compared to plastic alternatives.
- Style of Use: Think about how you will be using the drill. If you frequently change bits, a keyless chuck could save you time and frustration.
Key Features of Drill Chucks
Size and Compatibility Considerations
When selecting a drill chuck, size and compatibility cannot be overstated. Drill chucks come in different sizes to accommodate various shank sizes of drill bits. Most commonly, you will encounter 3/8”, 1/2”, and 5/8” chucks. It’s crucial to match the chuck size with your drill’s spindle size for optimal operation.
Material Variations: Steel vs. Plastic
Drill chucks are typically made from either steel or plastic. Steel chucks offer increased durability and strength, essential for heavy-duty applications. They resist wear over time and provide a solid grip on the bits. On the other hand, plastic chucks are lightweight and more affordable, making them suitable for lighter tasks and hobbies, but they don’t typically hold up as well under intense use.
Torque Ratings and Their Importance
The torque rating of a drill chuck indicates its capacity to handle specific loads without slipping. Higher torque ratings are essential for drilling into tougher materials such as hardwood or metal. It’s imperative to choose a chuck that matches the torque specifications of your drill to prevent damage to both the chuck and the drill itself.
Installing and Replacing Drill Chucks
Step-by-Step Replacement Guide
Replacing a drill chuck can be a straightforward process. Here’s a step-by-step guide to help you through:
- Safety First: Always ensure the drill is unplugged to avoid accidental starts.
- Remove the Old Chuck: Use the appropriate tool (like an Allen key or a chuck key) to loosen any screws or clamps holding the old chuck in place.
- Attach the New Chuck: Align the new chuck properly on the spindle and secure it by tightening the screws or clamps. Ensure it’s fitted snugly to prevent any play while in use.
- Testing: Reconnect the drill to power, and briefly test the chuck with a drill bit to ensure it operates correctly before using it on your project.
Common Tools Needed for Installation
Having the right tools on hand makes the installation process smoother. Common tools include:
- Allen wrenches or chuck keys (depending on the type of chuck)
- A wrench for securing the chuck in place
- A screwdriver if screws need to be replaced or adjusted
Troubleshooting Installation Issues
If you encounter issues during installation, consider the following troubleshooting tips:
- Chuck Slipping: This can occur if the chuck is not properly tightened. Double-check that all securing mechanisms are engaged.
- Bit Fit Issues: If the drill bit doesn’t fit snugly, ensure it’s the right size and that the chuck is not damaged or worn out.
- Alignment Problems: Check that the chuck is aligned correctly with the spindle; misalignment can cause vibrations and decreased performance.
Maintaining Your Drill Chuck
Regular Cleaning Practices
To ensure optimal performance, regular cleaning of your drill chuck is essential. Debris and dust can accumulate and hinder the chuck’s functionality. Follow these cleaning practices:
- After each use, wipe down the exterior of the chuck with a dry cloth.
- For deeper cleaning, remove the chuck and clean the jaws with a soft brush or compressed air to eliminate dust and residue.
- Occasionally apply a light lubricant to the moving parts to prevent rust and ensure smooth operation.
Signs of Wear and When to Replace
As with any tool, drill chucks do wear out over time. Key symptoms that indicate it might be time for a replacement include:
- Increased slipping of the drill bit during use.
- Physical damage such as cracks or chips in the chuck.
- Difficulty in tightening or loosening bits, indicating internal wear.
- Excessive wobbling when the drill is in operation, which can lead to poor performance and inaccurate drilling.
Longevity Tips for Businesses
For businesses that heavily rely on drill chucks, implementing a regime for maintenance can significantly extend the life of this tool. Here are some suggested practices:
- Invest in high-quality chucks that offer durability and longevity, as they can often withstand higher demands.
- Regularly train employees on the correct use of drills and chucks to minimize unnecessary wear.
- Keep a well-stocked inventory of replacement chucks to avoid operational downtime.
- Monitor usage patterns and replace chucks periodically based on actual use rather than waiting for signs of wear.
Conclusion: Maximizing Drill Chuck Performance
Choosing the Best Drill Chuck for Your Work
Understanding the various types, features, and maintenance practices of drill chucks enables users to make informed decisions that enhance performance and productivity. Whether for casual DIY tasks or heavy-duty professional applications, selecting the right drill chuck tailored to your specific needs is essential for successful outcomes.
Future Trends in Drill Chuck Technology
As technology advances, we can expect to see improvements in drill chuck designs, including enhanced materials for better durability, smart technology integration for automatic bit detection, and even more effortless operating mechanisms. Staying abreast of these trends will help users make better purchasing decisions and adapt to changing work environments.
Final Thoughts on Selecting the Right Equipment
The significance of choosing the right drill chuck cannot be overstated. By paying attention to size, compatibility, and maintenance, users can significantly improve both the safety and efficiency of their drilling tasks. Equip yourself with knowledge and tools that match your requirements and watch your drilling capabilities flourish.